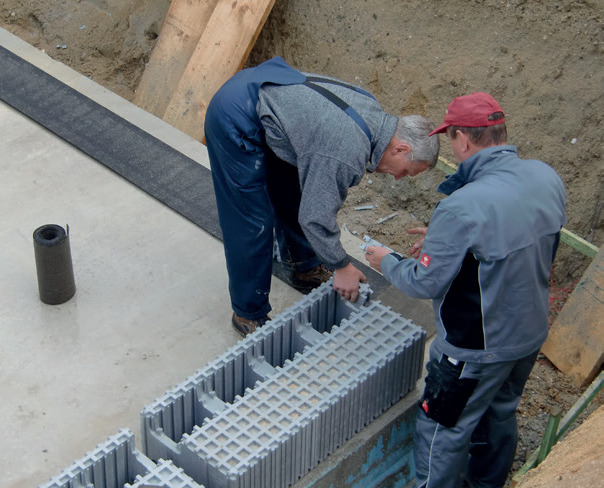
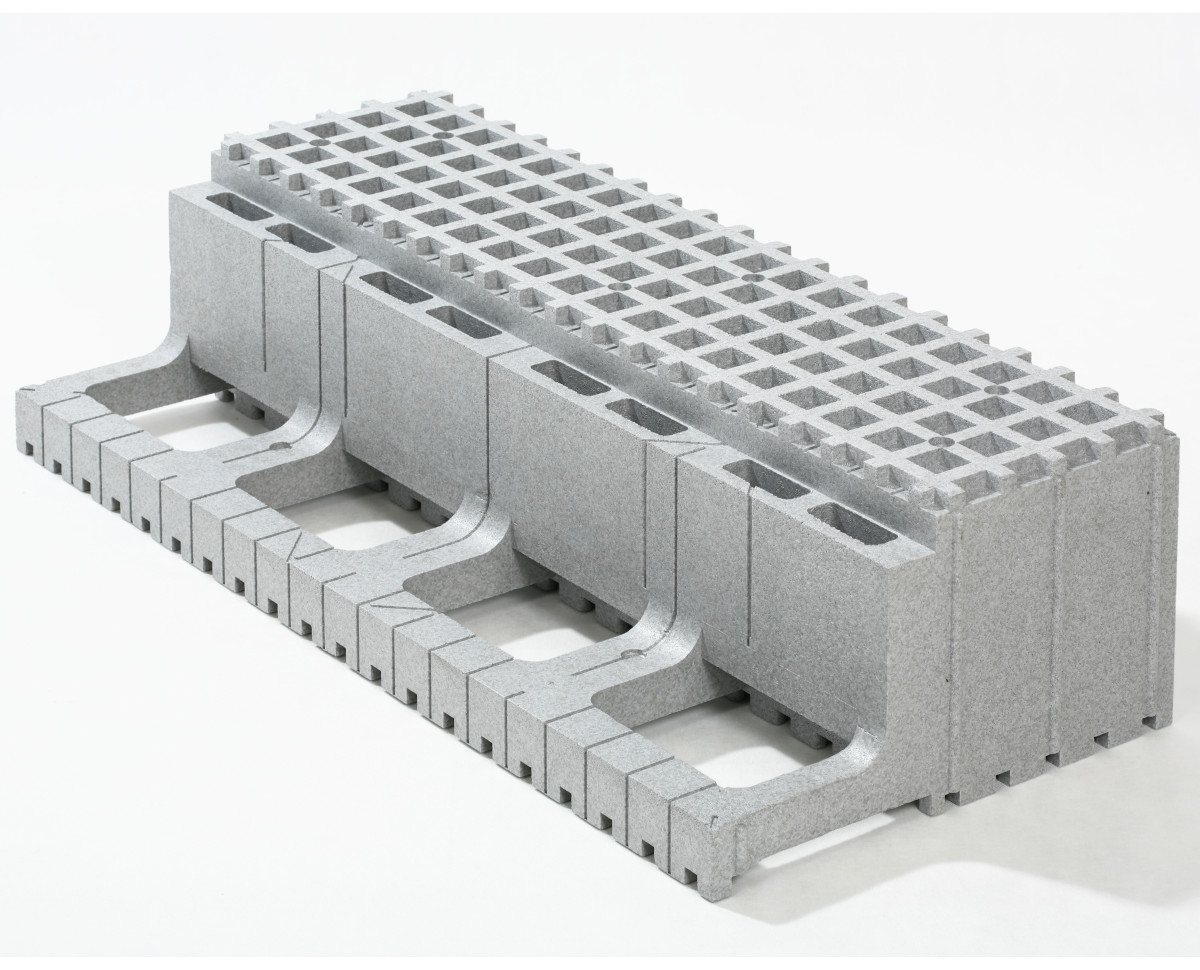
Starting construction, we lay the elements on the IZOSlab IZODOM foundation slab. We map the external walls – along the outline of the building, at the same time assembling the elements of internal and partition walls. The blocks are laid in a passing pattern by fastening them together with a special IZOClick lock, without mortar, glue or brackets. To begin with, we lay 2-3 layers, verify the diagonals and heights, if the dimensions agree we move to the stage of stabilizing the formwork – installation of supports. Construction is very fast, as the elements are lightweight and easy to handle 1m2 of wall is our two basic elements.
Stage 2
Supports
When we have the first layers of wall elements laid and leveled, we attach steel supports to them. They are available in the company’s offer. They allow us to stabilize the dimensions of the formwork before concreting, which makes it easier to install, as well as to control the plane while maintaining verticality. The supports make it easier to pump concrete of the entire floor from the height. We remove them the day after concreting.
Stage 3
Corners
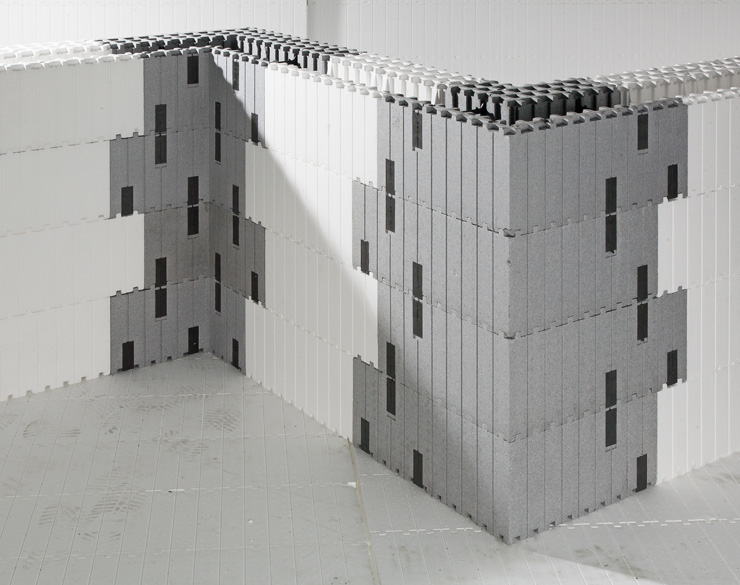
In order to maximally facilitate and accelerate the work at the construction site, the company offers ready-made corners. The elements come in two versions: external and internal, each of which has two right and left variants. One part is longer, which makes it possible to connect them to the wall elements overlapping.
Stage 4
Lintels
IZODOM offers additional elements that facilitate the elimination of thermal bridges. One of them is a “U” shaped element used as lintel beam formwork. At the construction site, it is installed over the window and door openings, the reinforcement is placed in it, and then poured with concrete together with the entire floor.
Stage 5
Wreath
To maintain the continuity of the insulation at the junction of the ceiling with the walls, an element of ceiling support is used – which further protects the house from the formation of thermal bridges and heat escape.
Stage 6
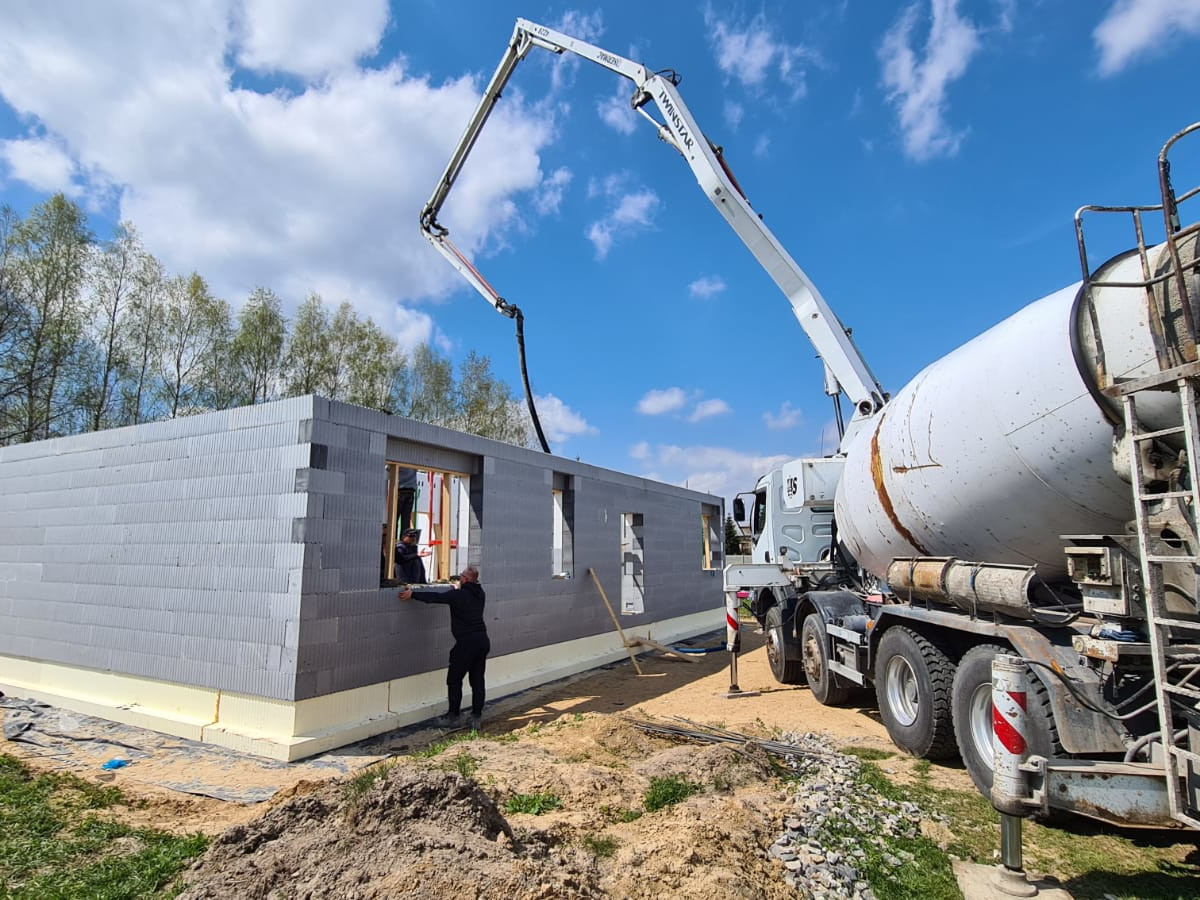
Concreting
The elements are suitable for concrete pumping. The suggested height of concreting is 3m, which is the height of one floor. Concreting one story of a house with an area of about 100m2 is ca. 12m3 of concrete and less than 2h of work. It is recommended to use concrete with a plastic consistency and a maximum grain size of 8mm, with a strength class of not less than C16/20, always in accordance with the construction project. We place the concrete in layers by running the pump around the perimeter of the building approximately to a height of 0.8-1m, that is, making 3 laps.
Stage 7
Interior and exterior finishing
Indoors we recommend the use of gypsum plaster min 10 mm, laid directly on the primed wall. An equally popular solution is gypsum board fixed with comb spread adhesive or with so-called foam adhesive, as our wall is perfectly smooth and even. On the exterior we use any finishing materials, as in traditional technology.
Want to learn more. Sign up for training organized by IZODOM.